

Do your pillow cases look baggy on your pillows? If your pillows are anything but the big poofy type then conventional pillow cases probably are too baggy for them. We are going to demonstrate professional-level hemming of pillow cases for the best look and feel possible.

This project takes about an hour for the first pillow case, and 20 minutes to do a second. This is assuming your machine and working space can be set up fairly rapidly.

Pillow typically cases come in three sizes: standard, queen, and king, though in practice the dimensions vary considerably and there is no real standardization adhered to. Pillows themselves are sometimes categorized as standard, queen, and king, but there are so many intermediate sizes today that these categories are nearly meaningless today. With the advent of memory foam pillows there are not just new dimensions but also new shapes. I like the 4″ thick memory foam pillows for which we will use in this demonstration.
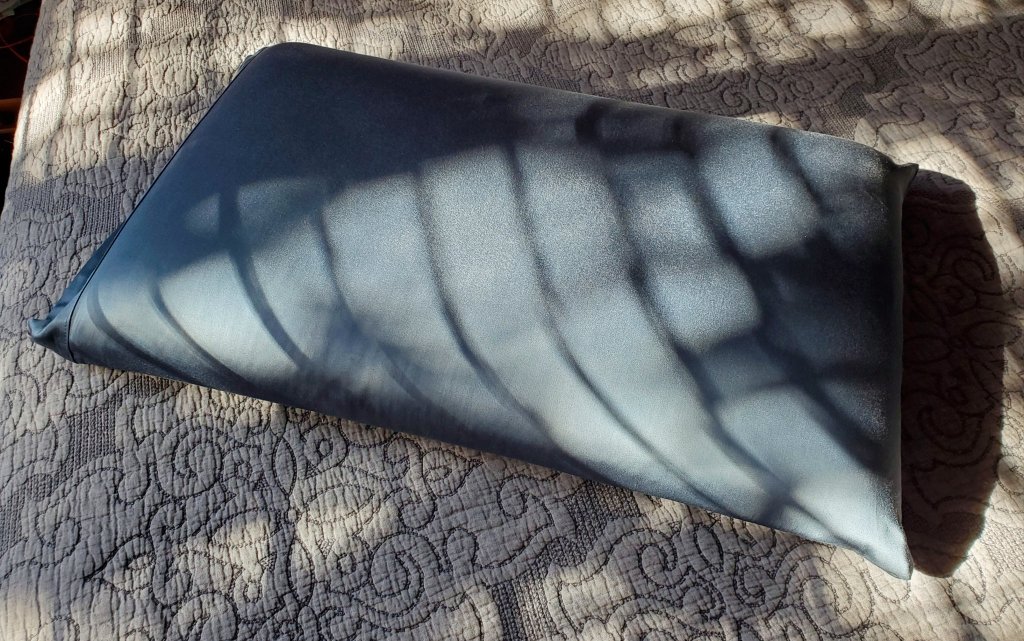
Here is our end result:

The pillow case
For this demonstration we will be hemming a Cariloha Resort bamboo viscose pillow, in blue lagoon color. Viscose is the chemical process of converting wood pulp into a kind of semi-synthetic thread, which which was invented in the late 1800s and predates plastics such as polyester and nylon. Another name for this is rayon, though in this case it’s made specifically from bamboo as opposed to other kinds of wood. It’s a fairly soft material and is popular for bedding these days. Is it any better than regular rayon? I don’t know, but bamboo sounds a lot better.
The machine
For this we are going to use a serger (overlock) sewing machine. This machine is the Baby Lock Evolvé, which was first produced by the Japanese Baby Lock company in1999 and has since “evolved” into the Evolution model and then in 2019 into the Accolade model, though all three are very similar and mostly part-interchangeable. These machines were the first sewing machines with jet air automated threading, but let me tell you that you still have to do some of the threading effort yourself. This machine also has thread auto-tensioning and so that saves some effort here.

However, you can use any serger for this, or even a regular sewing machine. We are going to use a five thread stitch for this, as that’s the most professional choice, but we will provide a four thread stitch option which will work in four thread sergers. And we will provide the best stitching options for using a regular sewing machine. The reason we prefer a serger is that it wraps the edging of material in a way a regular sewing machine cannot.

The stitch
Let’s turn the pillow case inside-out and take a close look at the stitching it uses. The stitch below is a thread thread overlock (the ladder-like edging on the left) with a two thread chain stitch (the straight stitch on the right). The overlock secures the edge from fraying, while the chain stitch provides a strong edge which will be pulled against while fitted on the pillow.

With our serger we can do the above overlock+chain in a single pass. The operating manual has the following diagram for how to set up the machine for this. If your serger can’t do these simultaneously, then you can still accomplish this with a three thread overlock pass and a second straight stitch with either a coverstitch machine or a conventional sewing machine. Below we use a wide overlock but the machine could also be set for a narrow overlock.
If you are using a regular sewing machine, then emulate a serger by using a narrow length zig-zag stitch as a first pass, manually cut off the extra material, then use a straight stitch for the inside line. There will be some initial fraying with the zig-zag, but it will stop after a while.

The first thing we do is set up the machine and do a test stitch on some of the pillowcase material. This pillowcase came with some extra fabric, but you can also use some of the pillowcase to be modified because we will be removing material from it. The goal here is to test the machine and to measure the resulting stitch width.
The thread
What kind of thread can you use for this? The short answer is that polyester thread is most appropriate, though other types such as cotton or woolly nylon for the overlock would be fine. The straight chain stitch will require some strength and so cotton and rayon are not recommended, though nylon could work due to it being stronger than polyester.
The threads will be inside the case and thus not visible, so the color is nearly irrelevant unless the material is very transparent. For our demonstration I’m using gray polyester serger thread, though one is black because I have only four gray spools on hand. None of the threads will be visible through this material and so color color choice here is nearly irrelevant.
Do a test run

Pillow measurement
We want the pillow case to be snug, but not constricting. To achieve this, our measurements need to be accurate to within a half inch, and ideally a quarter inch. Start by measuring the width and length circumference of the pillow.


Now lay out the inside-out pillow case. Make sure it is flat and iron it flat if needed. We will be hemming on the edges that already have a hem, which is the bottom and left sides of the pictures below.

For the width we will be hemming the case to the same size as the pillow circumference. Since the pillow circumference is just under 35″, we will be making the hem at 17 1/4″, as marked below.
For the length we want to have two or three inches of extra material because this is an open-ended pillow. If this were a zippered pillow then there would be no extra material. It turns out for our pillow that the length is already only 1.5″ extra, and so there is no need to hem the left-sided seam for this pillow.

However, the stitch is 3/8″ wide and so the actual cut will be a little wider than 17 1/4″. This is shown below. We use masking tape, but you can also use a fabric pen if that’s safe for your material and you plan on sewing very soon after marking it.

Now that we have our cut edge marked, we put some sewing clips on it to keep the two material surfaces aligned. You can also use pins. One of the trickiest parts of this kind of sewing is making sure the two layers are sewn perfectly in parallel. Otherwise the materials won’t aligned and one layer will be bunched at the end of the sewing. No bueno.

Let’s fed it though the machine now. The tape will be aligned with the cut right edge. It would be a little better if the needle line to the left of that was marked with a sewing pen, but this will still work fine. Remove the clips as the material is fed into the machine. Be careful not to let the right side material fold under the machine foot.

Run out a couple extra inches of threads so we will be able to tie off the ends. Unlike conventional sewing machines, there’s no backwards on a serger!

Below is our finished hem, with extra on both sides for tie off.

Now tie off the ends like shown below. You can use some fabric glue or whatever else makes you feel comfortable about the end.

The result
Turn the pillow case back out and put it on the pillow. Below is the result, which is a perfectly smooth fit. It will feel softer and look better. Repeat for your second pillow if you have a pair. It’s best to fully complete the first pillow before starting the second one, in case there are any learnings to apply to the second one.

Here’s another hemmed pillow. This one is a pink champagne silk pillow with a zipper closed face.

Retaining the label
For the demonstration above, the newly hemmed case has omitted the original label. If you want to retain the label, cut it out of the case before hemming, then run it through the machine as shown below. Alternatively you could easily sew it in by hand or with a conventional sewing machine later.


I hope you can enjoy having well-fitting good looking pillow cases like these. It’s not much effort and will provide years of use.
